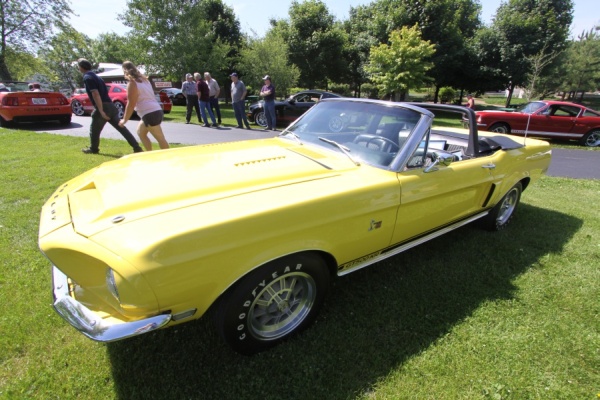
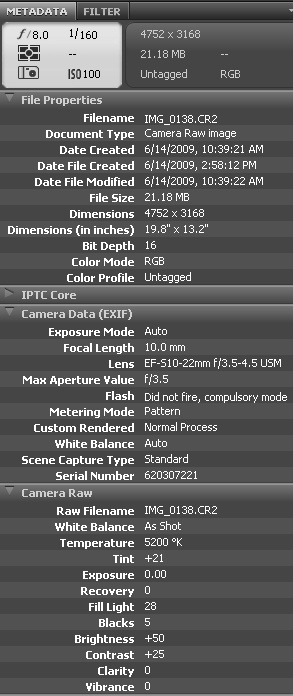
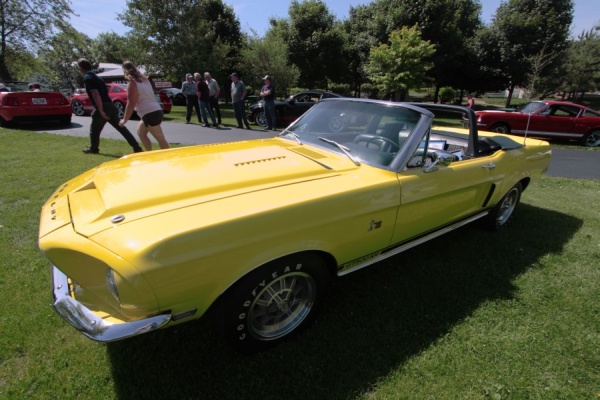
OOPS - Over -exposed jpeg as produced in-camera
Exposure Experiments and Mistakes
Here's an illustration of overexposure, correct exposure, and recovery from the overexposed RAW file.
First, note the overexposed hood on this backlighted car:
OOPS - Over -exposed jpeg as produced in-camera
The highlight warning on the played back LCD image was blinking madly over the whole hood.
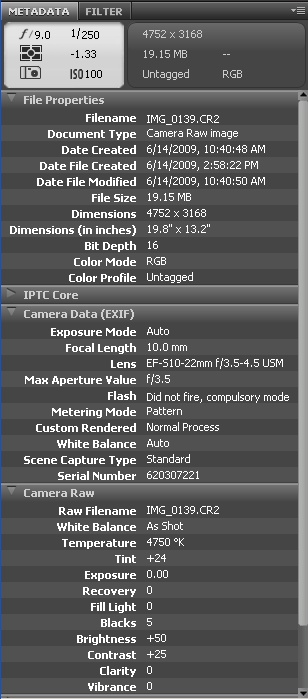
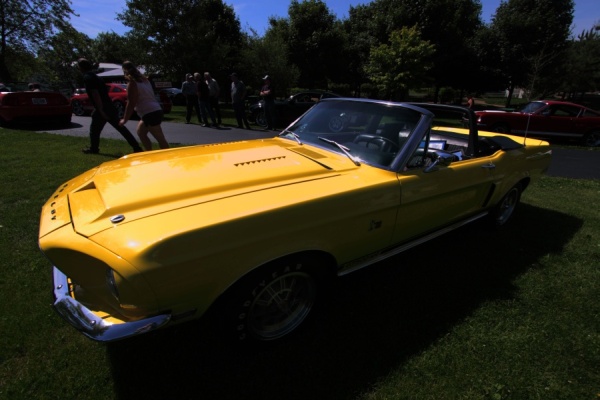
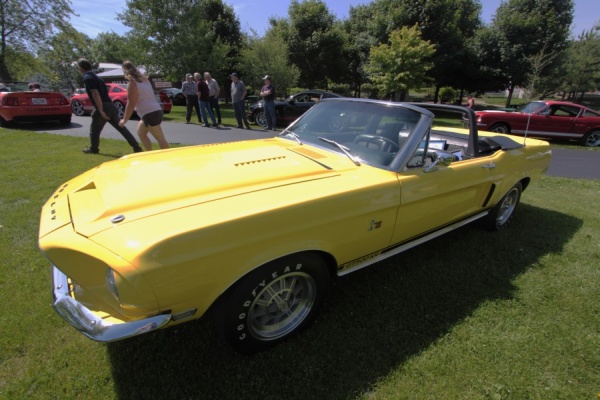
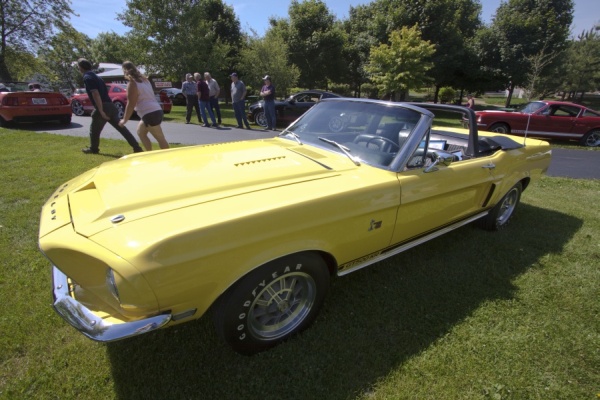
Now, here's a second shot with exposure compensation dialed in until the highlight warning didn't blink:

With exposure comp
But what about trying to recover something useful from that first shot? I had noticed that the Canon RAW converter,
Digital Photo Professional (DPP), has a checkbox for "linear." I couldn't imagine what use this might
be, since you always need gamma corrected final output. However, I decided to try it, just to see what the highlights
looked like:
Canon DPP with "linear" checked.
Seeing the yellow hood in the above, I wondered if a decent result could be pulled from this linear rendition.
DPP allows you to export a linear TIFF file (which is very large, by the way, 88MB)). As the simplest thing I could
think of, I imported the linear TIFF into Photoshop, and simply applied a midtone adjustment of gamma = 2.2:
Linear TIFF + Photoshop midtone adjustment only
Amazing for a simple correction!
OK, what if you try to accomplish this in one of the raw converters?
The raw converter programs seem to always apply an S curve that gradually compresses the highlights, as film would do. This is OK for reasonably exposed images, but prevents recovery of the overexposed hood unless some extreme curve adjustments are made to counter the S curve "knee."
Here's an attempt with DPP:
Canon DPP with strong highlight curve adjustment
Note the problem with posterization and partial shadows on the hood turning orange. This appears to be because the program operates by applying the same curve to R,G, and B. Using the linear TIFF in Photoshop works better, and much quicker.
Here's an attempt in Adobe Camera Raw:
Adobe CR with highlight recovery plus strong highlight curves adjustment.
Note that the ACR recovery maintains the hue of the yellow. It apparently works in Lab domain or something similar,
and then converts back to RGB. Getting this result required a lot of iterations of exposure, highlight recovery,
and curves. The process using the linear TIFF was much quicker for a similar result.
And now for the second mistake: don't forget to reset the exposure compensation when going back to front-lighted
shots:
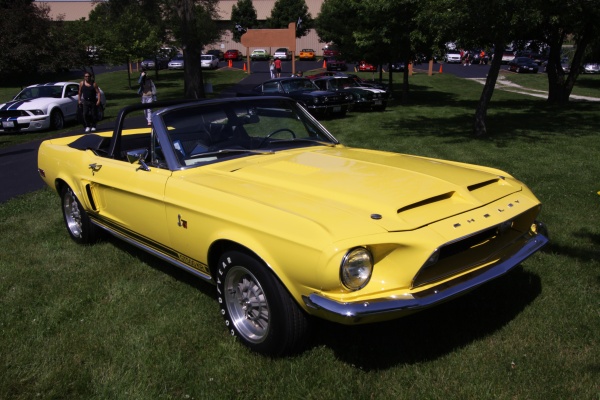
OOPS - left the exposure comp dialed in
The lesson:
When shooting RAW, "expose toward the right" (of the histogram) - the camera is not clipping moderate highlights in the RAW file.